
On Wednesday I worked like a fool to hammer out a bunch of projects for my classes at Big Picture Scrapbooking. In addition to 52 Pick Up I am taking a class called Have More Fun and Photography 101 which started today. I am excited about the Photog class to learn how to actually use my camera!!! It is embarrassing to have a powerful camera and pretty much keep it on the automatic setting. I am a little concerned that I have bitten off more than I can chew with these three classes, but so far I am managing to stay pretty much caught up.
So, I did the next 3 techniques for 52 pick up. I enjoy using paint, so I was thrilled that two of the techniques involved paint. Technique #11 was all about using painter's tape as a resist. I got busy and did so many layers of paint that I had to force myself to stop before Brad had to do an intervention. I used regular acrylic paint and some of the Tim Holtz crackle paint. I didn't have a plan when I started, so I just went with the flow. It was fun. I wanted to leave some chipboard exposed, but I did learn that lo-tac painters tape does stick a little too much to chipboard. Oh well. A little tearing never scared me!
Technique #12 was using glaze pens to doodle a design on top of paint. Basically these pens create a puffy, gel like raised line and can be used on all kinds of surfaces. I actually broke my own rule and did this technique twice. (I'm trying to learn to accept imperfection!) I had to do it twice, because my first try was on a black painted background which I liked better, but the glaze pens didn't show up on it. It was a bummer. They weren't as bright or opaque as I wanted. As it is I had to go over my lines multiple times to make them visible. I like the potential, but I'm not sure the result was as successful as I wanted.
Technique #13 involved embossing a stamped design onto cardstock and then removing the color from the cardstock with the application of bleach. I remember doing this in art school on fabric. It's a cool technique because the dyes disperse and leave different colors behind. You never really know what you're gonna get. It could be a lighter color, white, gold, or something else. I used dark navy cardstock and a clorox bleach pen. It was pretty cool because my cardstock turned purple. I enjoyed this technique and would like to try it some more. I need some stamps that will work with this well, though. You need to have some "space" and detail to the stamp so you can highlight different areas. Art type stamps would work great. The only issue I have is that I'm not sure this technique would be okay in an album. There is some residue left behind and I would worry about it hurting the pictures over time. I think this is strictly an art type technique, although this issue might be avoided if I sealed the image with mod podge or something. Hmmm...more experimenting is needed!
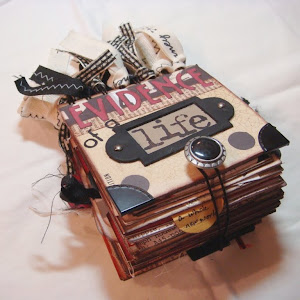
I also did some fun layouts for my Have More Fun class. I have added those images to my photo gallery on Flicker and to my slide show. The 1st project for Have More Fun was a mini-book. I used photos from a road trip my friend Julie and I took last year. It was an easy project and totally fun. I love the final look of the book and am pretty sure I will use this little book design again. It would make a great class for the Crop for a Cure, too! I've posted those pics as well.
I ALSO started a FUN adventure with my "Wreck This Journal" journal. This is part of a challenge from Stacy Julian on the Have More Fun message board. I will talk more about it later. Let's just say it involves paint, destruction, spit, God knows what else, and my bored teenage daughter!!! Fun!
You are one very busy lady! Keep going.
ReplyDeleteYour Big Sis